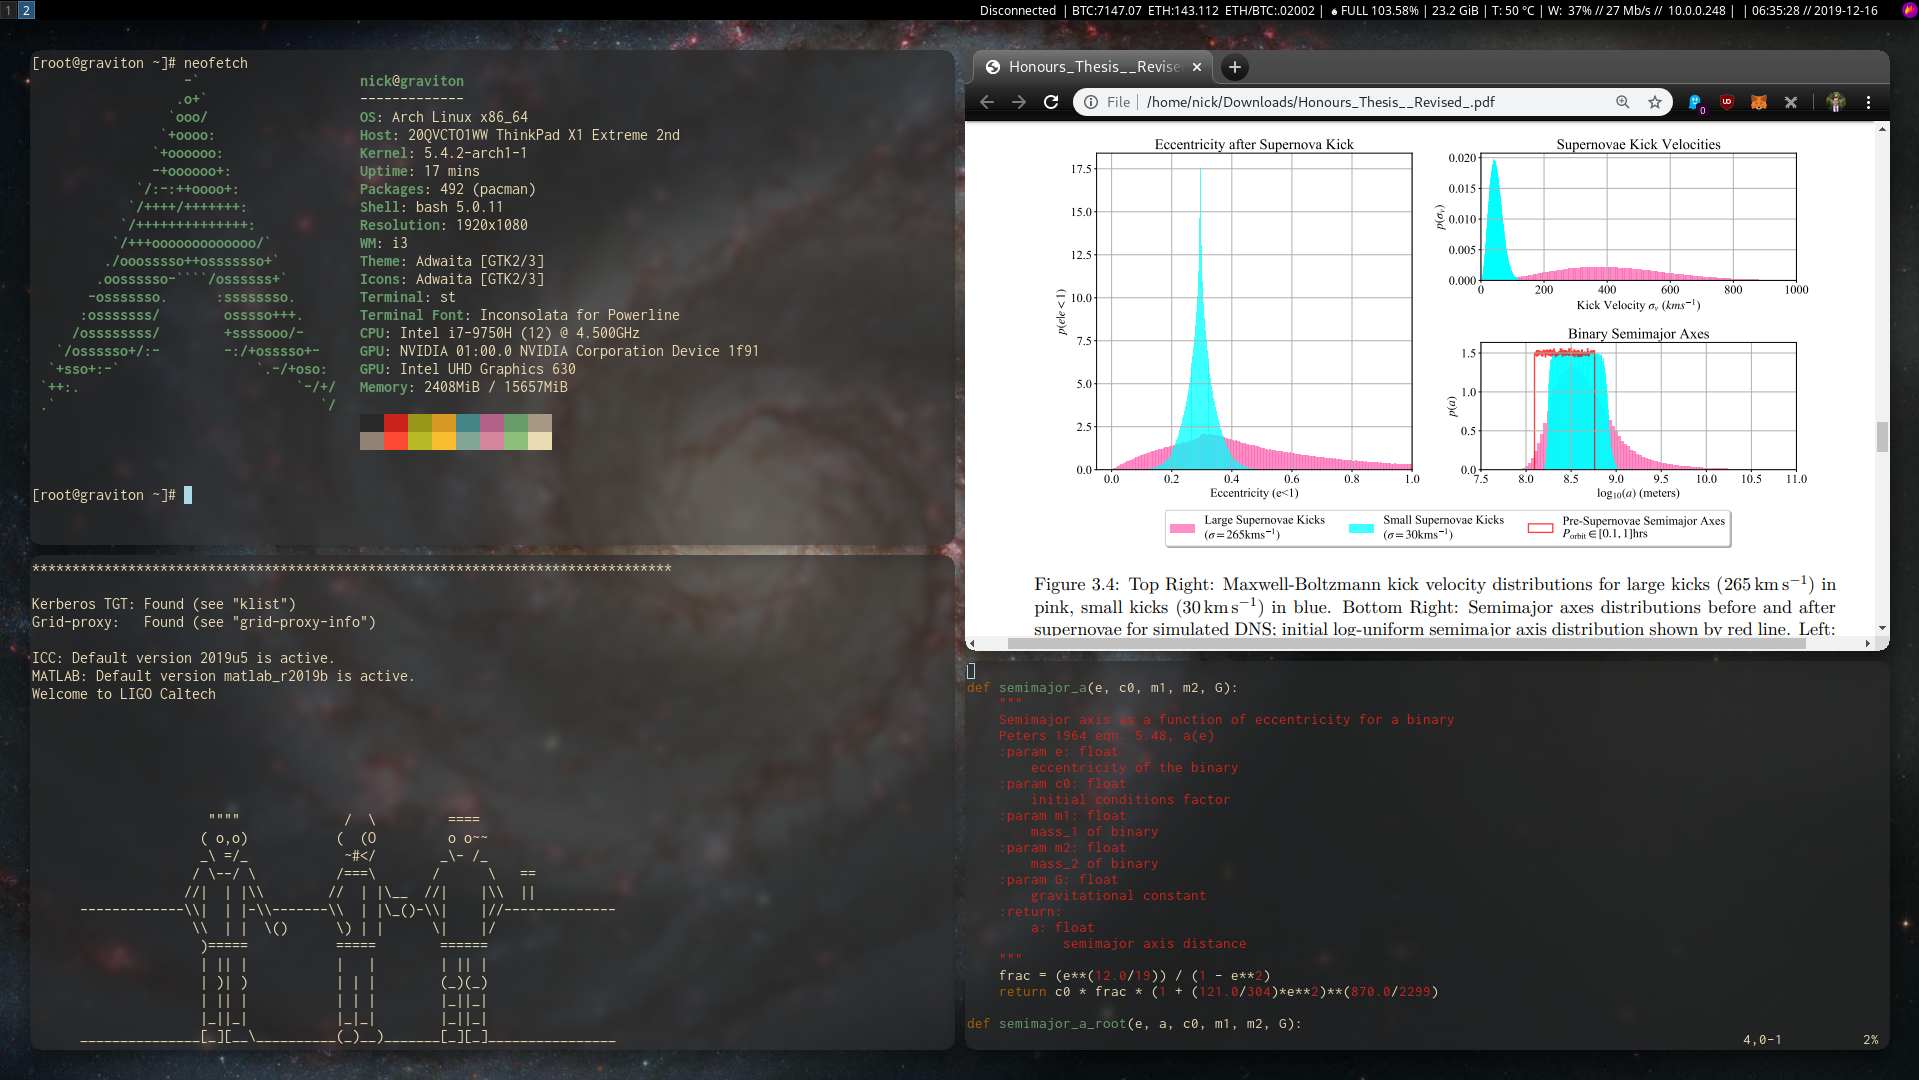
I recently installed Arch on my new X1 Extreme Gen 2 laptop. Here I document some of the intricacies of the installation.

I recently installed Arch on my new X1 Extreme Gen 2 laptop. Here I document some of the intricacies of the installation.
I will continue to update this as I progress with installing more features. If you see anything wrong, please please tell me!
I followed the classic archwiki installation guide.

nick@graviton:~$ lsblk
NAME        MAJ:MIN RM   SIZE RO TYPE MOUNTPOINT
nvme0n1     259:0    0   477G  0 disk
├─nvme0n1p1 259:1    0   260M  0 part /boot/efi
├─nvme0n1p2 259:2    0    16M  0 part
├─nvme0n1p3 259:3    0 182.7G  0 part
├─nvme0n1p4 259:4    0  1000M  0 part
├─nvme0n1p5 259:5    0    30G  0 part /
├─nvme0n1p6 259:6    0    20G  0 part [SWAP]
└─nvme0n1p7 259:7    0   243G  0 part /home
I opted to create three linux partitions:
I am dual booting with Windows, and hence have a 182G Windows partition on nvme0n1p3.
nick@graviton:~$ cat /etc/fstab
# /dev/nvme0n1p5
UUID=3ae08612-016a-4a5b-8515-36bae186701e       /               ext4            rw,relatime     0 1

# /dev/nvme0n1p1 LABEL=SYSTEM
UUID=4848-C989          /boot/efi       vfat            rw,relatime,fmask=0022,dmask=0022,codepage=437,iocharset=iso8859-1,shortname=mixed,utf8,errors=remount-ro      0 2

# /dev/nvme0n1p7
UUID=2866f03c-297a-4689-bfe0-c3d9910edcc8       /home           ext4            rw,relatime     0 2

# /dev/nvme0n1p6
UUID=5a3f2d94-3d8a-435a-8699-2024ae5883dd       none            swap            defaults        0 0

/dev/nvme0n1p6: UUID="5a3f2d94-3d8a-435a-8699-2024ae5883dd" TYPE="swap" PARTUUID="c36788f6-48b8-334b-8858-d6a242903682"
As this is a UEFI laptop, I am using rEFInd. I had some trouble getting rEFInd to start arch, which was ultimately down to me using an incorrect PARTUUID rather than a UUID in my /etc/fstab/.
My rEFInd config looks like
nick@graviton:~$ cat /boot/refind_linux.conf
"Boot with default options"             "root=/dev/nvme0n1p5 resume=/dev/nvme0n1p6 rw add_efi_memmap"
"Boot with fallback  initframs"         "root=/dev/nvme0n1p5 rw add_efi_memmap initrd=/boot/initramfs-linux-fallback.img"
"Boot with default op"                  "root=/dev/nvme0n1p5 rw add_efi_memmap initrd=/initramfs-%v.img"
I am using this minimal refind theme.
I am able to hibernate using my swap partition by first adding resume=/dev/nvme0n1p6 to my rEFInd config (above), and also you need to inlcude the resume hook in your initramfs (/etc/mkinitcpio.conf). (This MUST be after the udev hook!)
I chose to use NVIDIA Optimus for my graphics driver/controller.. Though I am still unsure whether this is working correctly.
nick@graviton:~$ cat ~/.xinitrc
xbindkeys

# THESE ARE NEEDED FOR OPTIMUS TO FIND THE DISPLAY!
xrandr --setprovideroutputsource modesetting NVIDIA-0
xrandr --auto

exec i3
I can now switch to nvidia graphics using optimus-manager --switch nvidia, then sudo prime-switch, xinit and prime-offload once logged in. This will become more streamlined once I start using a desktop manager.
Following the Gen1 recommended optimus-manager config, I get quite a good battery life with this optimus configuration:
nick@graviton:~$ cat /etc/optimus-manager/optimus-manager.conf
[intel]
DRI=3
driver=intel
modeset=yes

[nvidia]
PAT=yes
ignore_abi=no
modeset=yes

[optimus]
pci_power_control=no
pci_remove=no
pci_reset=function_level
switching=bbswitch
After switching to nvidia graphics (see above), the display will be outputted to any plugged in HDMI monitor. To extend my screen for another i3 desktop I use xrandr --output HDMI-0 --auto --right-of eDP-1-1.
All my xorg configs in /etc/X11/xorg.conf.d/ are now controlled by optimus-manager.
To get audio working on my non-root user, I had to add my user to the audio group with sudo usermod -a -G audio nick.I confirmed ALSA is working with speaker-test. You might need to manually unmute Master in alsamixer with the m key.
As I use function F1-F12 keys often in i3, I generally keep FnLock ON (Fn+Esc).
nick@graviton:~$ cat ~/.xbindkeysrc
# Increase volume
"amixer set Master 5%+"
        XF86AudioRaiseVolume

# Decrease volume
"amixer set Master 5%-"
        XF86AudioLowerVolume

# Mute volume
#"amixer set Master toggle"
"pactl set-sink-mute 0 toggle"
        XF86AudioMute

# Toggle microphone
"amixer set Capture toggle"
        XF86AudioMicMute


# Increase brightness
"xbacklight -inc 5"
        XF86MonBrightnessUp

# Decrease Brightness
"xbacklight -dec 5"
        XF86MonBrightnessDown
If using optimus-manager, then add the following to /etc/optimus-manager/xorg-intel.conf:
Option "Backlight" "intel_backlight"
This tells the xorg server what system backlight to use when using intel graphics.
In your ~/.bashrc put
# Reverse scroll direction on trackpad
xinput set-prop "SynPS/2 Synaptics TouchPad" "Synaptics Scrolling Distance" -113 -113
# Touch click
xinput set-prop "SynPS/2 Synaptics TouchPad" "Synaptics Tap Action" 0 0 0 0 1 3 2
# horizontal scroll
xinput set-prop "SynPS/2 Synaptics TouchPad" "Synaptics Two-Finger Scrolling" 1 1
For a non-root user to access the camera you need t add your user to the video group with sudo usermod -a -G video nick. You can test the camera with vlc v4l2:// :input-slave=alsa:// :v4l-vdev="/dev/video0".